Improving process quality and productivity in semiconductor wafer inspection with the XM-60 multi-axis calibrator
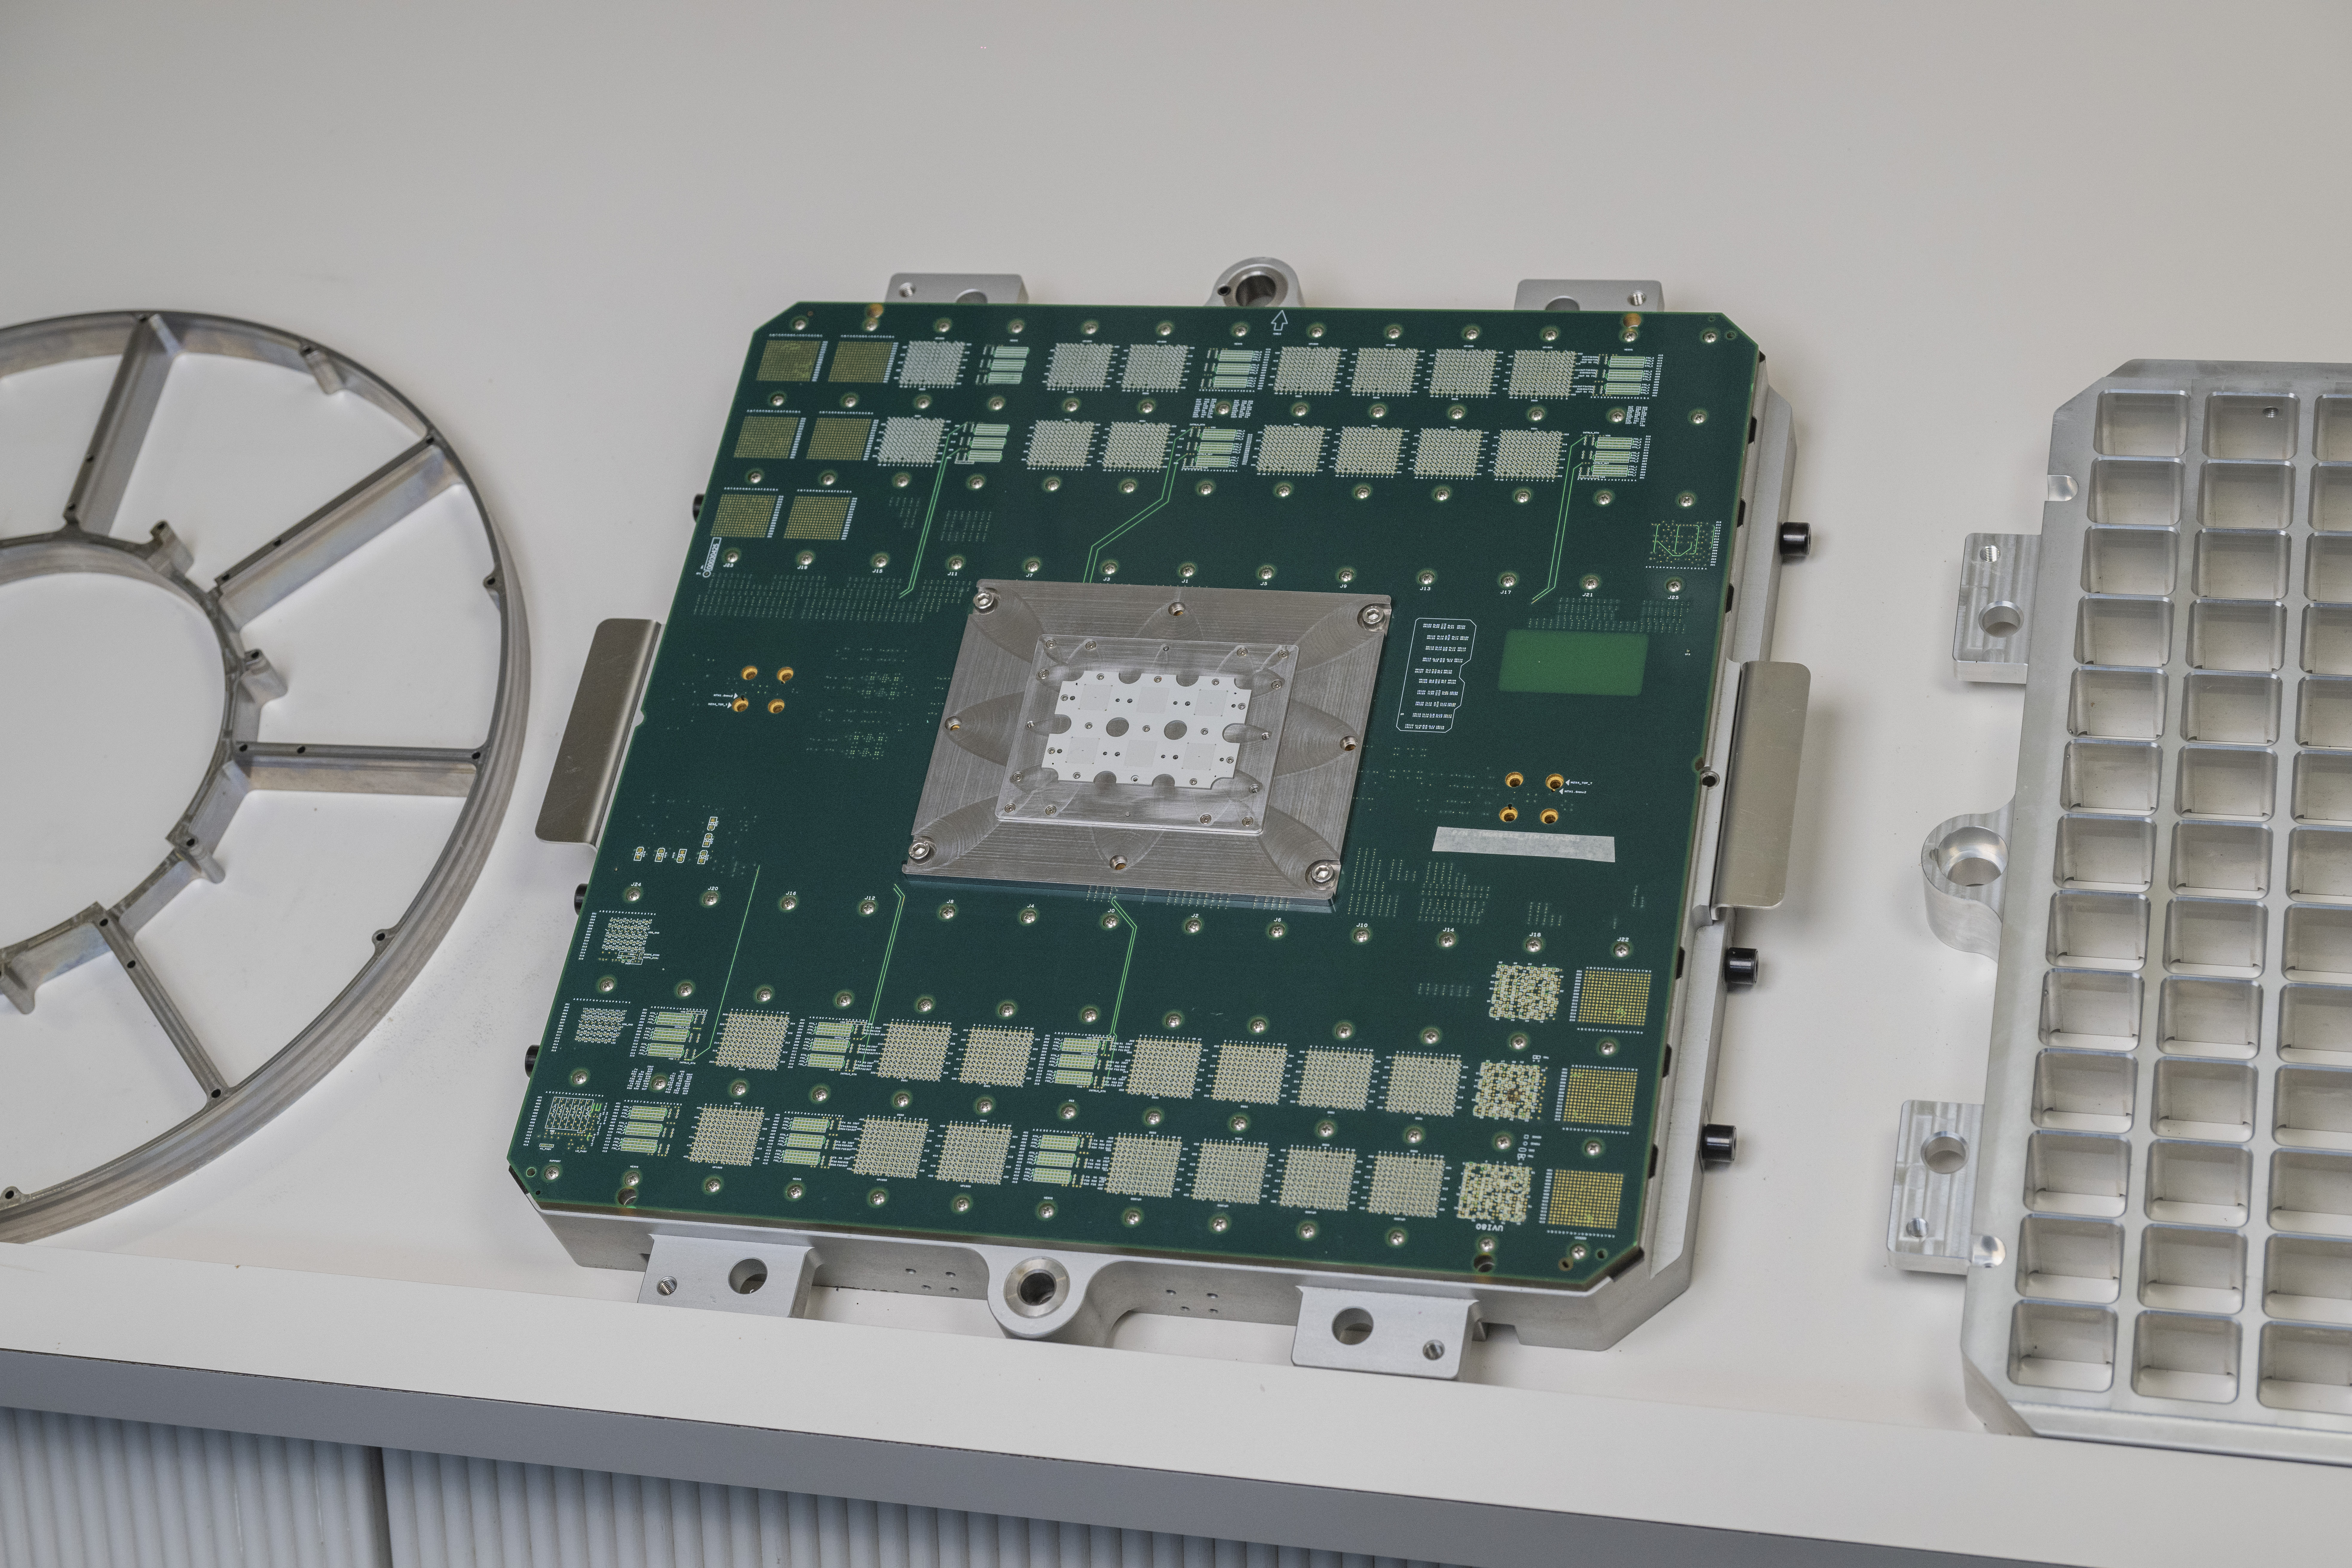
Probe cards are essential to semiconductor processing. They serve as an interface that connects a chip on a wafer to the inspection equipment that conducts various electrical tests. Leveraging the testing results, manufacturers can make fine adjustments to their processes to ensure wafer quality, and also proactively eliminate defective items. This avoids waste in the consequent packaging process, reducing costs and enhancing productivity.
Background
For years, Taiwan-based Certain Micro Application Technology Inc. (CMAT) has been dedicated to the design, research, development, and manufacture of probe cards and components for wafer testing. Renishaw's XM-60 multi-axis calibrator and QC20 ballbar have helped them with the comprehensive measurement of manufacturing equipment, ensuring smooth operation of production lines, and enhancing processing quality.

Challenge
In semiconductor processing, wafers are inspected after the front end of line is completed. Conforming wafers will enter the back end of line, which includes dicing, die bonding, wire bonding, and other packaging procedures. Probe cards are fixed directly to the probes and connected to the inspection equipment via wiring. During operation, the probes on the probe card contact the welding pads or bumps on the chip, forming a test circuit. Signals emitted by the testing are transmitted to the chip via the probes. The probes then relay the feedback data from the chip to the tester for analysis and evaluation. This determines whether each die on the wafer functions correctly.
Manufacturers design and manufacture dedicated probe cards for different semiconductor types. The production of probe cards involves multiple precision processes which creates many challenges.
Firstly, the pitch between probes can be as small as 50 μm or even less, depending on the card type, with the number of probes reaching into the thousands. Secondly, the coplanarity of the probes must be at the micron level to prevent excessive variations in contact force, which could damage chips and probes. Finally, probe cards require micro-drilling with hole diameters and pitch specific to customer requirements, typically between 20 μm and 30 μm.
For CMAT, ensuring the continuous and efficient operation of production equipment is crucial. Before building an inspection team, they relied on equipment suppliers to perform on-site calibration and did not have any extra information beyond the limited reports provided. This left them uninformed and unable to assess the condition of their equipment. In the worst-case scenario, the equipment's accuracy failed to meet customer requirements. This would result in a lost order as the supplier's maintenance cycle did not align with the customer's delivery timeline.
Solution
To overcome the challenge, CMAT created its own inspection team and purchased the XM-60 multi-axis calibrator and QC20 ballbar based on advice from Renishaw's calibration experts.
Comprehensive measurement
In CMAT's factories, the XM-60 multi-axis calibrator is used to evaluate and maintain product lines' machine performance. Due to rigorous requirements on the machining precision of probe cards, understanding all machine errors is vital to CMAT.
Their inspections cover dynamic straightness and error source analysis for machine axes, as well as volumetric accuracy measurement and compensation.
CMAT now uses the XM-60 multi-axis calibrator to conduct monthly inspections on four machines within its facility, including 5-axis machine tools, generating reports to evaluate machine conditions for calibration purposes.
In contrast, the XM-60 multi-axis calibrator offers easy set-up and can measure errors in six degrees of freedom along an axis from a single set-up. It also measures multiple parameters at specific locations and evaluates positioning accuracy at any given location. Renishaw's intuitive CARTO software allows users to learn about a machine's errors quickly. CMAT identified that the XM-60 multi-axis calibrator has significantly increased their overall productivity threefold, with a single operator swiftly and effortlessly measuring errors in 21 degrees of freedom (when used in combination with a QC20 ballbar).
The comprehensive measurement capabilities of the XM-60 multi-axis calibrator helped us better understand the overall performance of our machines. They also allowed us to investigate the correlation between machines and their errors. The reports generated are crucial references for our evaluation of machine conditions. Thanks to the XM-60, the precision and stability of our machines have improved. We can better control the production process to enhance customer satisfaction and strengthen our market competitiveness.
Mr Liao Po-sheng,
Quality Assurance Manager of CMAT
Fast preliminary inspection by QC20 ballbar
Renishaw's QC20 ballbar also plays a crucial role in maintaining the production equipment at CMAT's factory. By regularly performing fast preliminary inspections using the QC20 ballbar, CMAT can gain early insights into the condition of each machine. This enables efficient allocation of limited production resources, the assessment of productivity to meet customer demands, and the accurate forecasting of delivery times.
One notable advantage of the QC20 ballbar is its ability to complete inspections in just 10 minutes, whilst identifying potential machine issues. For a more detailed analysis, the XM-60 multi-axis calibrator can then be used for further inspection.
The QC20 ballbar is integral to volumetric compensation. The XM-60 multi-axis calibrator enables simultaneous measurement in six degrees of freedom for each axis, including linear accuracy, pitch, yaw, and roll, as well as horizontal and vertical straightness. When measuring the X, Y, and Z axes separately, a total of 18 errors can be measured.
Additionally, when used with the QC20 ballbar, three more errors can be measured, totalling 21 three-dimensional volumetric errors necessary for volumetric compensation. By using both pieces of equipment in tandem, CMAT has gained a comprehensive understanding of machine errors and is able to conduct appropriate calibration and compensation operations.
The QC20 ballbar offered us numerous benefits. Firstly, it reduces downtime by 15%, significantly shortening the time required for equipment inspection and enhancing productivity. Secondly, the QC20 ballbar decreases the defect rate by 5%. This ensures precise inspection and evaluation of machine performance, thereby improving product quality. Moreover, the QC20 ballbar assists in evaluating machine conditions throughout the production process. This facilitates timely preventive maintenance to ensure smooth equipment operation and maintain productivity. It also swiftly identifies the causes for substandard processing quality, simplifying the tracking and resolution of issues.
Mr Liao Po-sheng,
Quality Assurance Manager of CMAT

As the specifications and demand for new semiconductors escalate, manufacturers must enhance the testing capabilities of probe cards and testing equipment. This includes increasing the number of probes, meeting more stringent pitch requirements, and improving testing speed.
Chairman Chen Chi-liang of CMAT concluded, "In the future, as the demand for semiconductors continues to grow, the industry will face increasing challenges posed by high-end semiconductor testing. With the gradual completion and commissioning of our Yilan Plants One and Two, CMAT will be able to boost its productivity and develop more products."


