Stran trenutno ni na voljo v vašem jeziku. Lahko si ogledate strojni prevod, ustvarjen s storitvijo Google Translate. Te storitve ne zagotavljamo mi in rezultatov prevoda nismo preverili.
Za dodatno pomoč se lahko obrnete na nas.
Renishaw Equator™ gauge enables production growth at major aerospace manufacturer
When Senior Aerospace Weston wanted to become more efficient in the inspection of critical machined aerostructure parts, the company turned to Renishaw and its class-leading Equator™ gauging system. The Equator gauge has cut inspection times per part by around 75% and introduced more comprehensive component traceability.
Background
Senior Aerospace Weston is a leading supplier of a wide range of complex precision machined components and sub-assemblies, predominantly for the commercial aviation market. At the company's machine shop in Earby, UK, 95% of output is for use in Airbus aircraft, mainly A320 and A321, but also A330, A380 and A350 models.
Most of the components are aerostructure (wing and mainframe) components; everything from small items measuring 50 mm, to large engine pylon brackets and landing gear fittings.
Challenge
Some of the more complex aerostructure parts were taking up to 10 minutes to inspect using Senior Aerospace Weston's existing coordinate measuring machines (CMMs). This would often cause bottlenecks and capacity limitations around the CMMs. To address the problem, the company introduced various manual inspection methods using traditional measuring equipment and hard gauging, but to limited effect.
With build-rates increasing, Senior Aerospace Weston recognised its responsibility to become even more efficient with in-cycle measurement without compromising quality.

Inspection cycle time has been cut by 75%. Previously a manual measurement would be taken and recorded on paper. Now, we have fully electronic reports with every dimension recorded. We can also use trend data to help identify potential areas for improvement in our manufacturing process.
Senior Aerospace Weston (UK)
Solution
“We spoke with Renishaw and they proposed the Equator gauge, which is another level up from a traditional 3-axis CMM in terms of speed,” explains CMM Programmer Andy Wright.
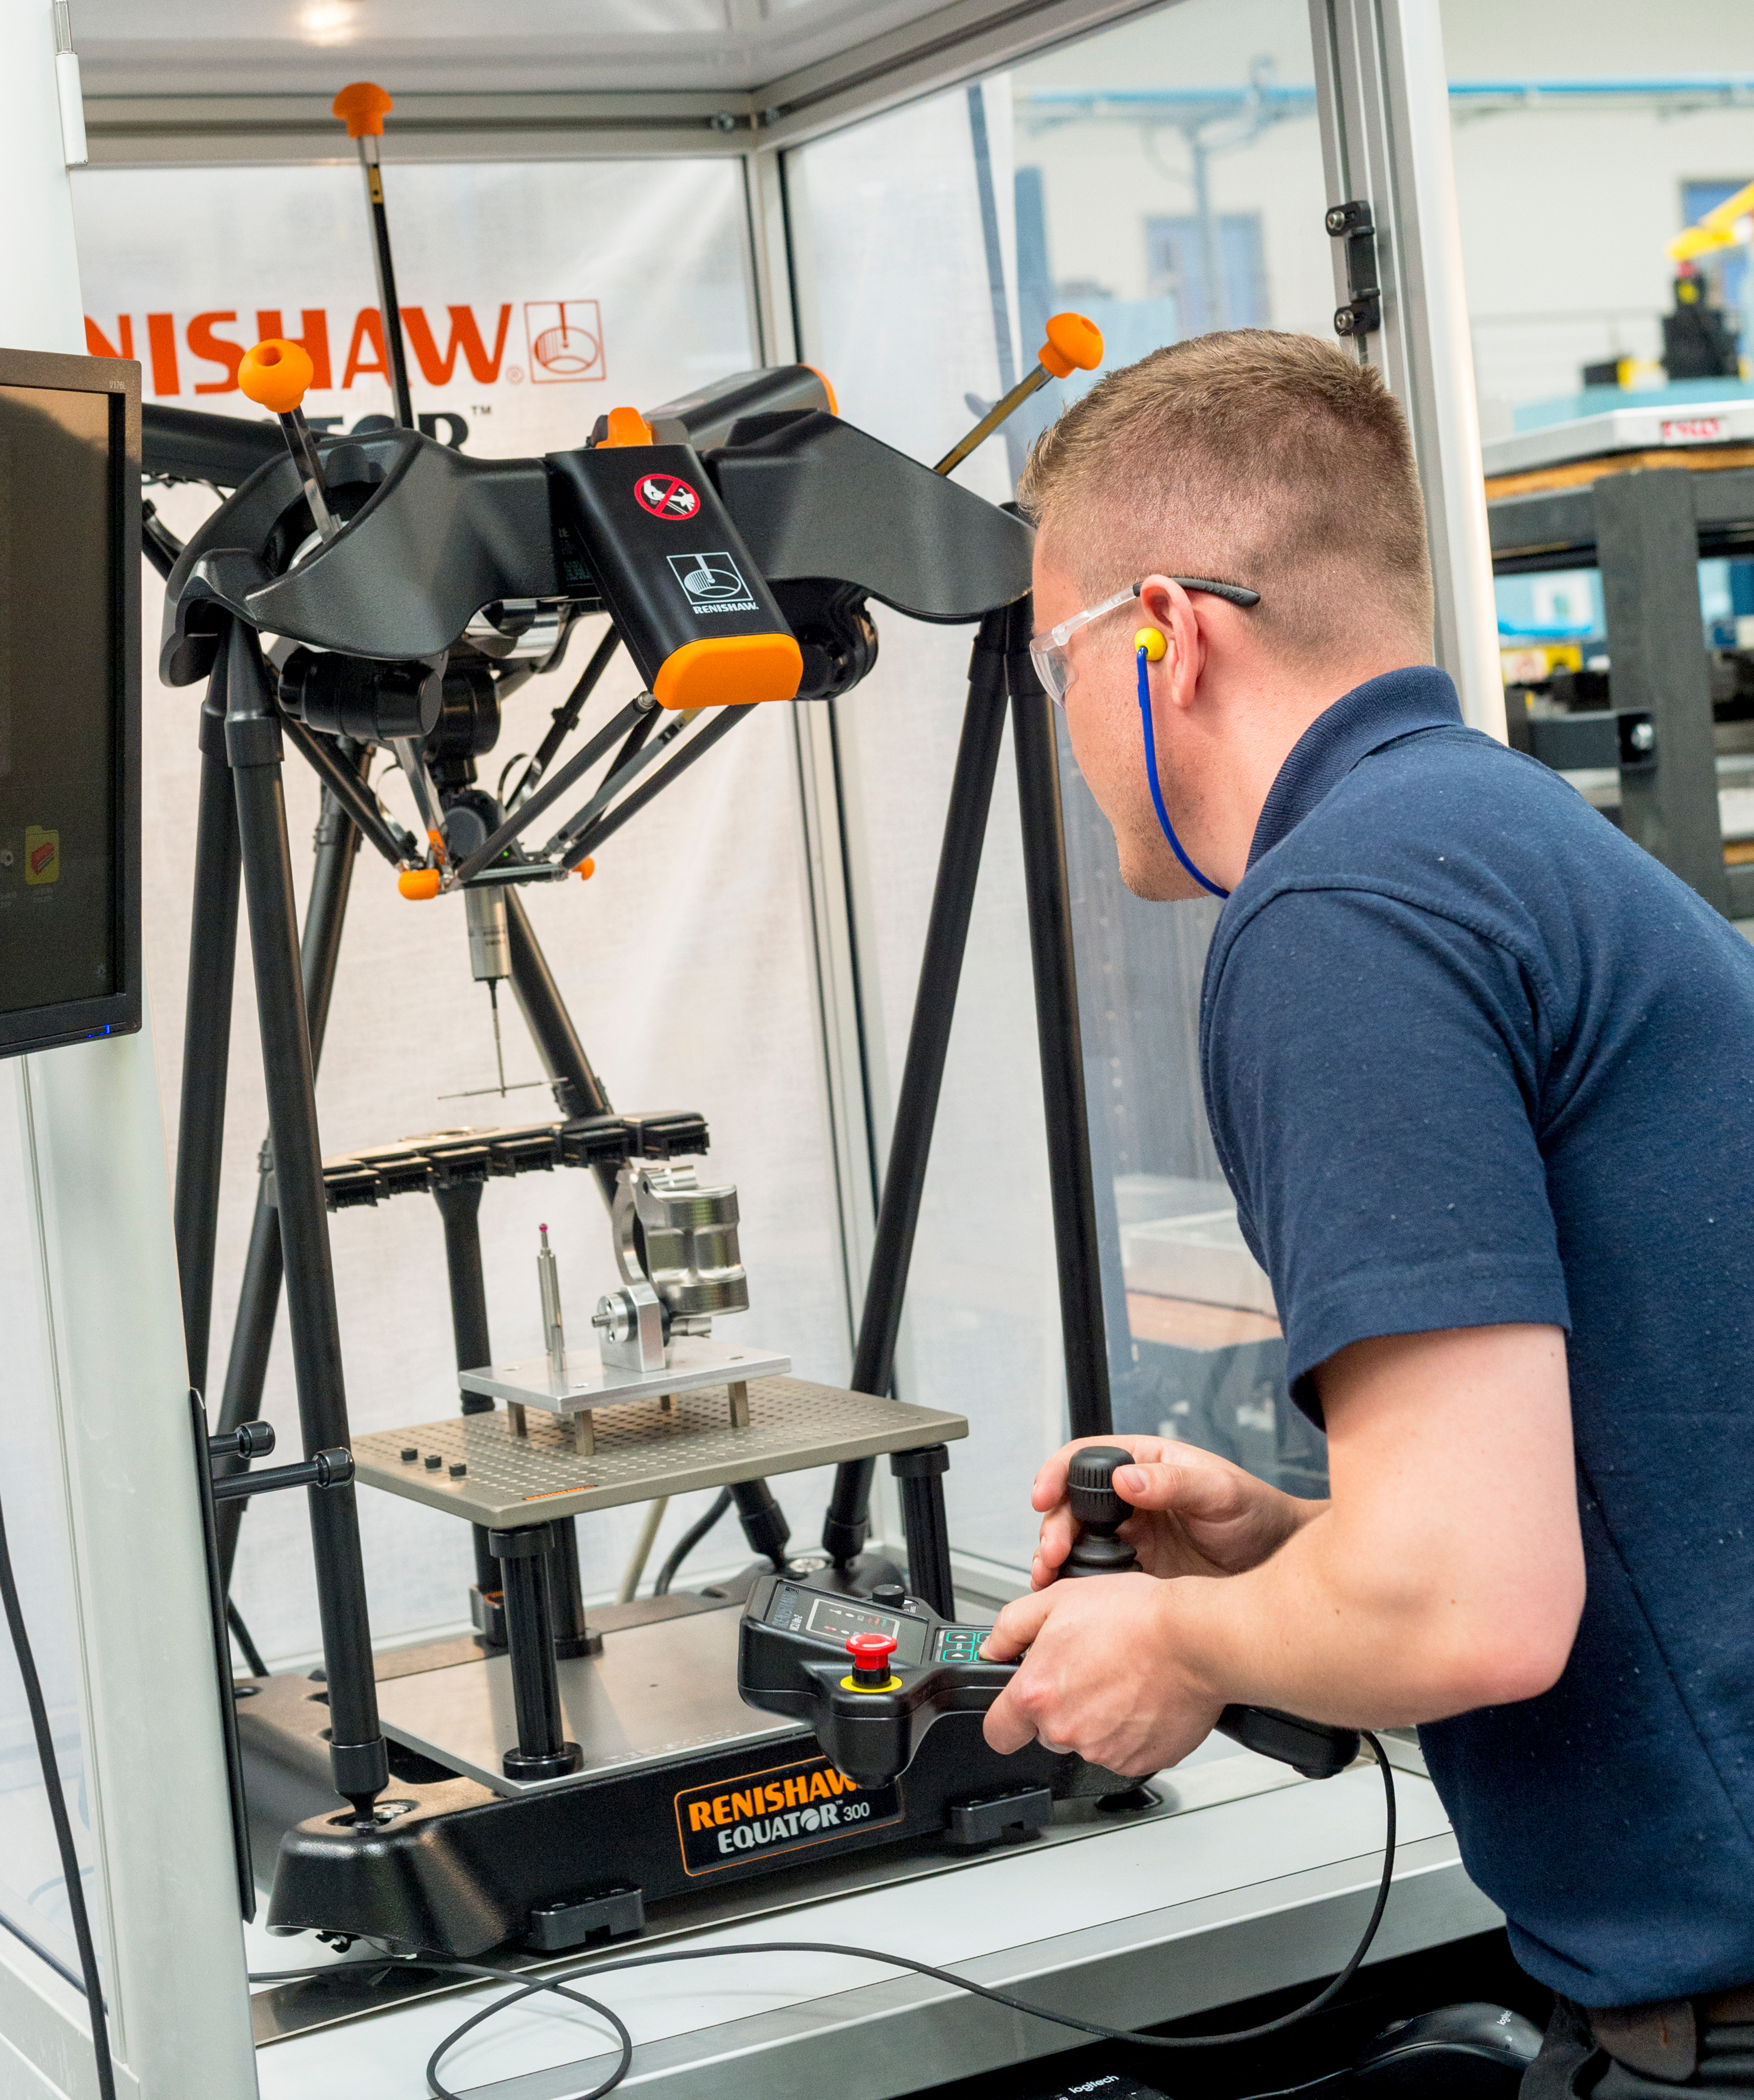
The thermally-insensitive Equator system is a flexible gauge that is designed to provide speed, repeatability and ease-of-use. Installed at Earby during January 2018, Senior Aerospace Weston has already programmed eight parts.
“We have 70 parts that could fit on the gauging system, so there is high potential,” states Mr Wright, who is also impressed with the system's ease of use. “No special skills are required; the operator simply loads the part into the fixture, lets the cycle run and receives an easy-to-read report.”
Another factor behind the success of the project has been the sales and applications support from Renishaw: “The support we receive is first class,” says Mr Wright. “Renishaw is very quick to answer any queries, and it almost feels like we've been assigned our own special support team.”
A key part of the support team for Senior Aerospace Weston is Renishaw Applications Engineer, Ed Clarke, who comments: “For any customer with a turnkey project we will provide ongoing support for all stages of their project. If there are any queries, the customer can come directly to us for the support they require.”
Results
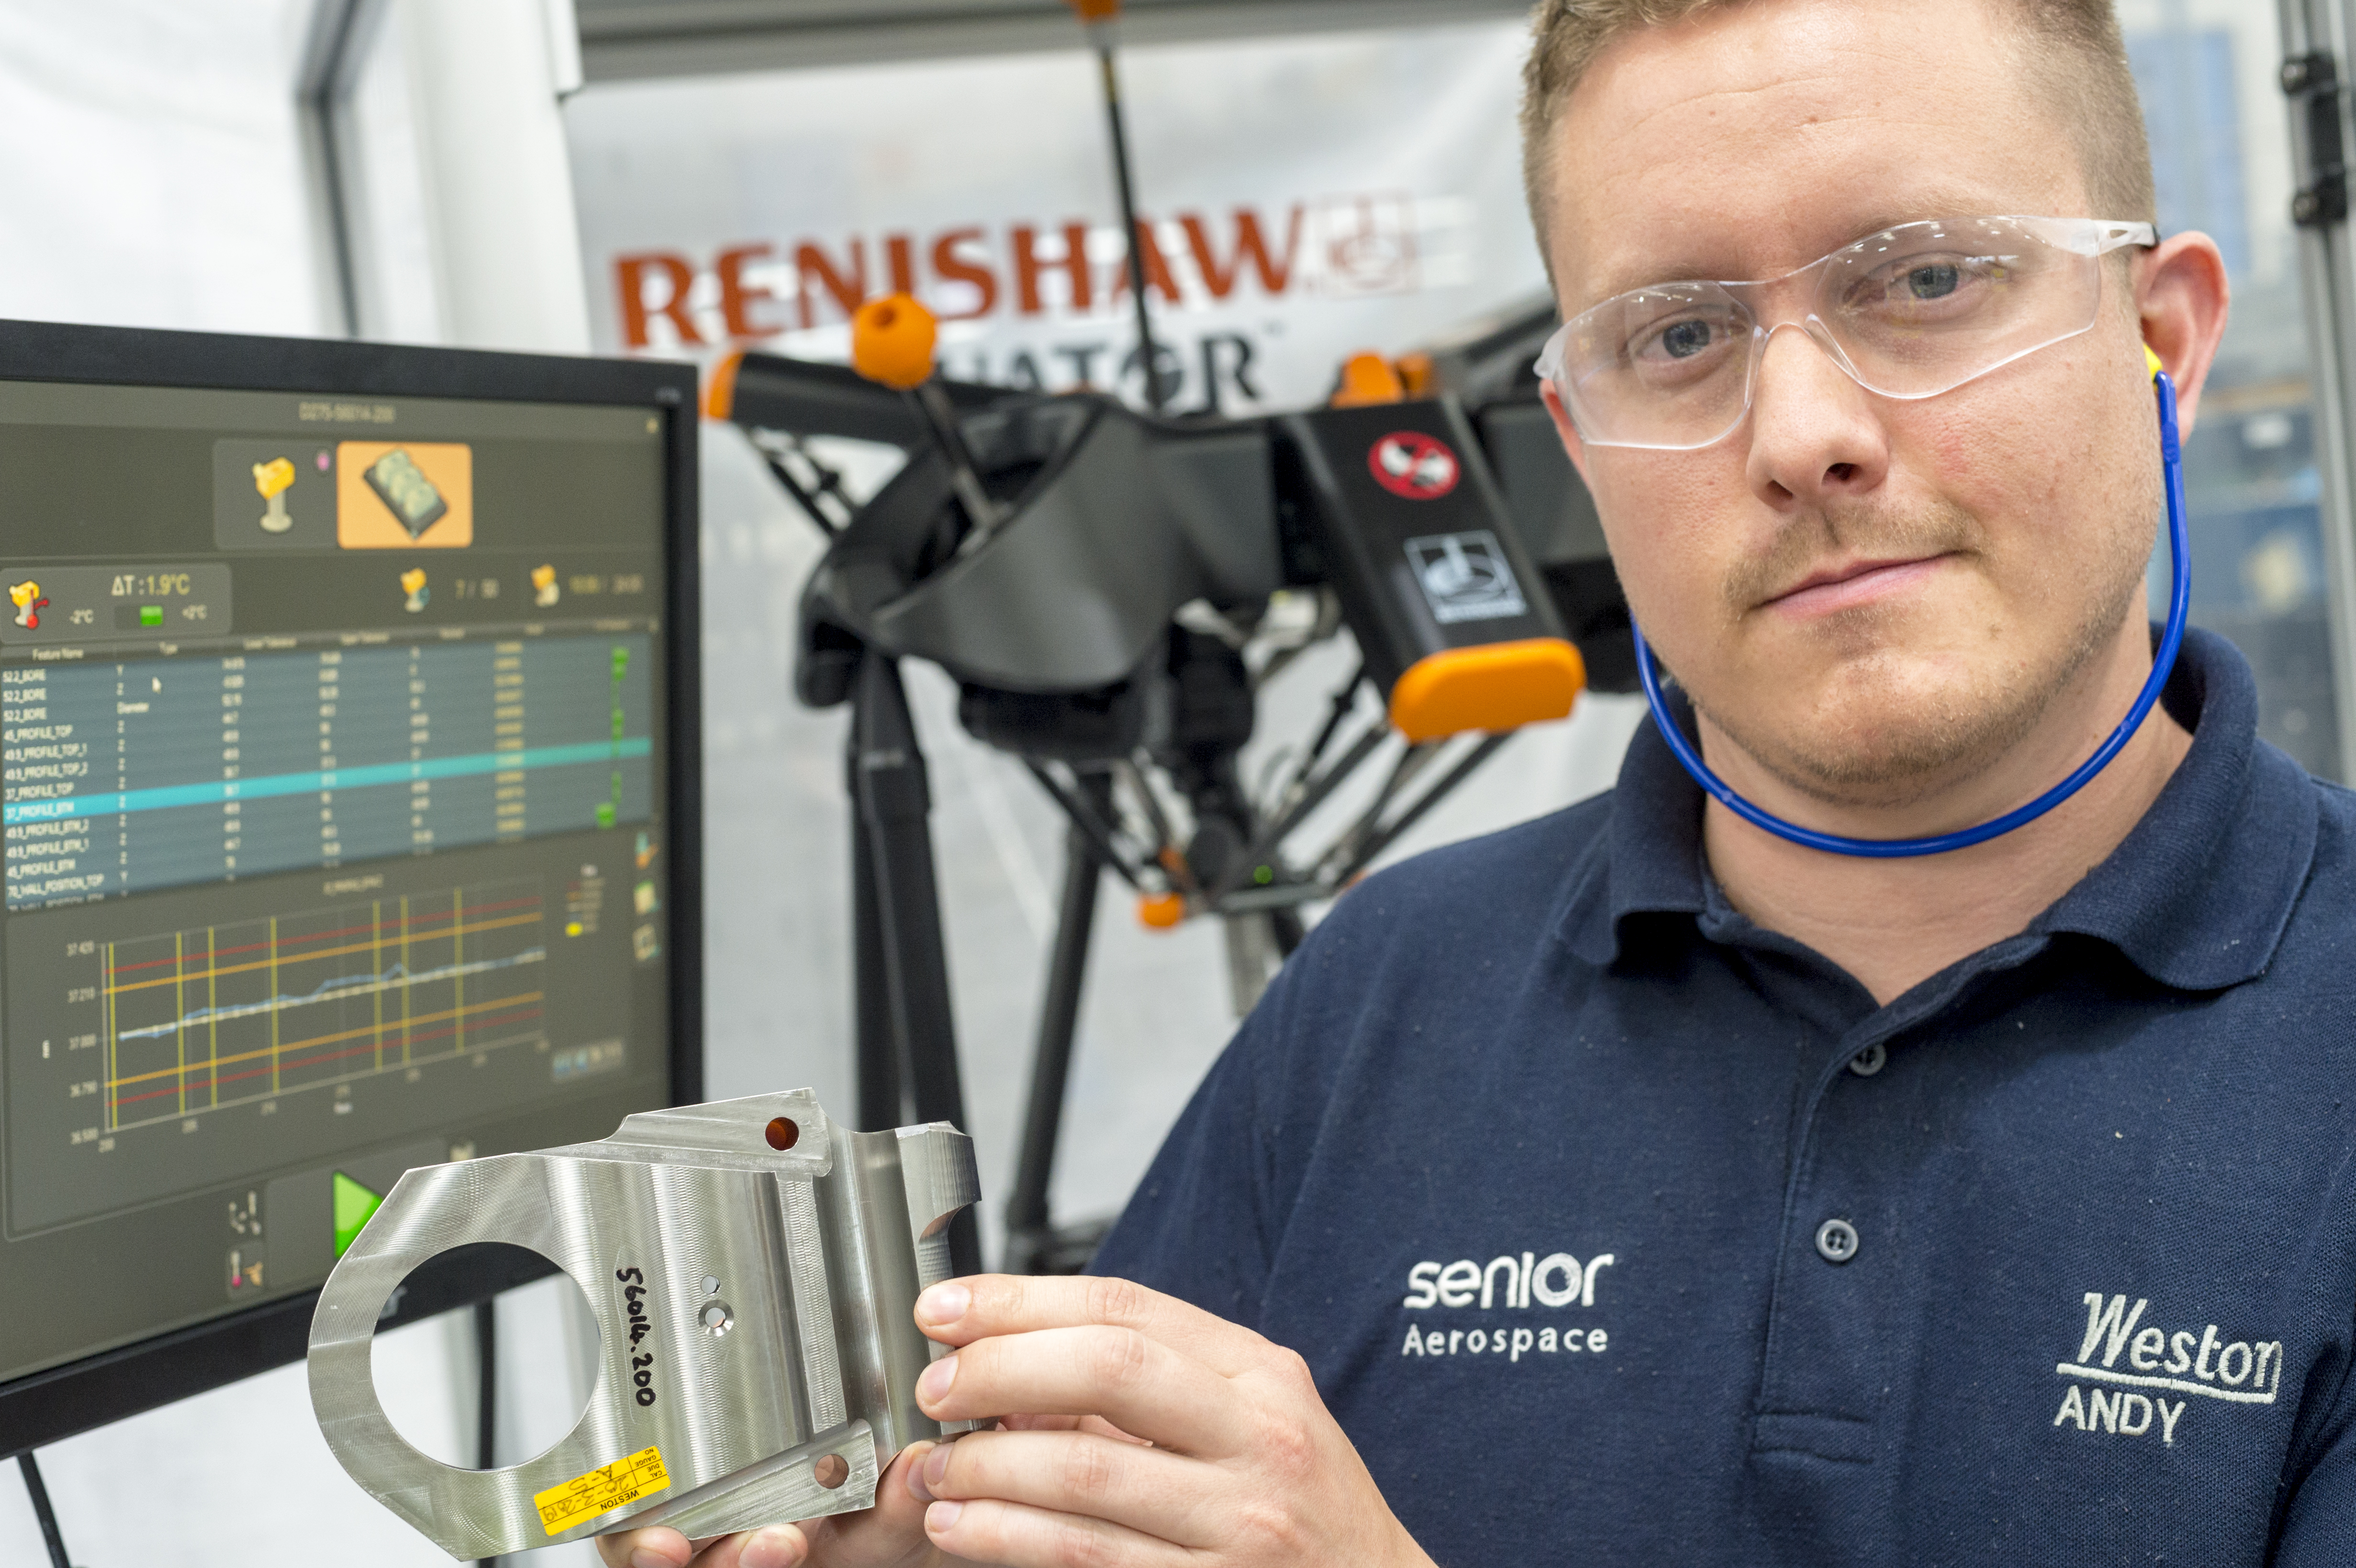
Among the parts inspected at Senior Aerospace Weston using the Equator gauge is a titanium wing flap track component for Airbus aircraft.
“Over the years we have gone through several process iterations and various equipment solutions trying to measure this part quicker with the required accuracy, but inspection would regularly fail due to component complexity and tight datum tolerances,” concedes Mr Wright. “However, using the Equator gauge we have been able to achieve a process that delivers accurate gauging and repeatability. The Equator gauge measures around 25 different features on this particular part, taking just 90 seconds in total.”
“The in-cycle measurement time has been significantly reduced, with our operators now just reviewing an electronic report,” says Mr Wright. “Inspection cycle time has been cut by 75%. Previously a manual measurement would be taken and recorded on paper. Now, we have fully electronic reports with every dimension recorded. We can also use trend data to help identify potential areas for improvement in our manufacturing process.”


