Denna sida finns för närvarande inte på ditt språk. Du kan
översätta
den automatiskt
med Google Translate. Vi ansvarar inte för att tillhandahålla denna tjänst och
vi har inte kontrollerat översättningsresultaten.
Kontakta oss om du behöver ytterligare hjälp.
Machine tool builder invests in alignment laser and improves efficiency by 50%
The commercial success of building custom-made machine tools requires careful attention and efficiency. Error inspection and correction during assembly needs to be fast and accurate, while labour costs have to be minimised. Faced with increasing customer demand, Dawn Machinery Co., Ltd (Dawn Machinery) chose to replace its traditional granite square and dial indicator metrology in favour of Renishaw's XK10 alignment laser system.
Background
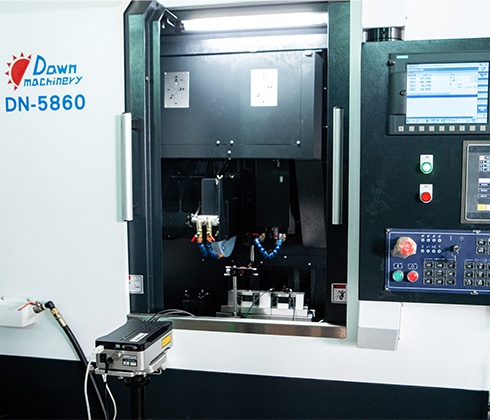
XL-80 laser intermerometer system used to check dynamic accuracy of Dawn Machinery's machine tools
Located in Changhua County (Taiwan), Dawn Machinery specialises in the production of high-precision custom-made machine tools. Its core models include vertical universal grinders, lathes and milling machines.
With decades of in-house experience in machine design, manufacturing, power distribution and controller software development, the company can respond to even the most stringent customer requirements.
Like many other machine tool manufacturers, Dawn Machinery had long employed a range of traditional metrology techniques for machine alignment checks, most notably granite squares and dial indicators, as well as autocollimators.
It had also outsourced dynamic accuracy inspections using Renishaw's XL-80 laser interferometer system. Dawn Machinery recognised the advantages laser technology could bring in terms of portability, ease of use and detailed diagnostic report generation.
Challenge
It can typically take anywhere between three and six months to design, manufacture, inspect and deliver a custom-made machine tool to a customer. In a fiercely competitive Taiwanese machine tool market, production efficiency is of paramount importance.
Mr Hsu-Hsing Hsu, General Manager at Dawn Machinery said, “Compared to mass-produced machine tools, custom-made machine tools demand very different production and management procedures, as well as much stricter control of costs.”
“We see the market demand for custom-made machine tools increasing on an almost daily basis, so delivering high-precision machine tools efficiently and on-time is a crucial challenge for us.”
Over time the use of traditional granite squares and dial indicator metrology was recognised as a significant bottleneck in the machine tool assembly process. The accuracy limitations were also becoming an issue.
Mr Hsu explained, “It can be very time consuming to set up a granite square. Some squares can be very large and need to be carried by multiple people and lifted by a gantry crane. Not only that, storing many squares of different sizes needs a lot of floor space and for a manufacturer of custom machine tools this simply isn't cost-effective.”
He continued, “For high-specification machine tool models we ultimately need to be able to control machine tool errors to within 1 µm, and with granite squares having a typical accuracy of 2 µm to 3 µm this is impractical. Higher precision squares are also expensive and rarely available, especially at lengths of greater than 2 m.”
The testing of longer-travel machines was also a problem for Dawn Machinery. With observed metrology errors only increasing with length, finding granite squares of sufficient physical size was an increasing concern, as was their handling and storage.
The XK10 system is very portable and easy to set up. Our operators only need to follow the display unit instructions to complete a measurement process. Overall, I estimate that our machine tool inspection efficiency has been improved by at least 50%.
Dawn Machinery Co., Ltd (Taiwan)
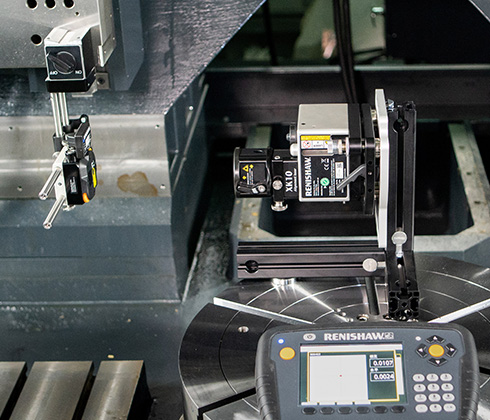
Squareness measurement with XK10 alignment laser system
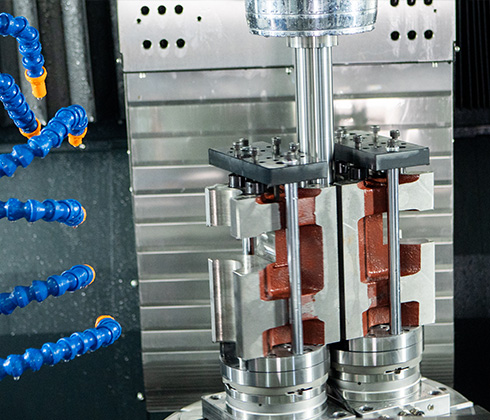
Dawn Machinery vertical cylindrical grinder
Solution
To achieve its production efficiency and accuracy goals, Dawn Machinery chose to invest in Renishaw's XK10 alignment laser system as a direct replacement of its traditional granite squares and dial indicator metrology equipment.
Developed to measure both geometric and rotational errors in machine tools, XK10 comprises a laser launch unit, static and mobile transceiver units, versatile fixturing kit and portable display unit for live error readings. All system components are battery-powered and communicate with each other wirelessly.
This compact, all-in-one digital solution can measure all types of errors across all types and sizes of machine tool, with the system able to take measurements over a range of 30 m.
In terms of geometric errors it can measure machine straightness, squareness, flatness and level, as well as parallelism with an additional parallelism kit. Rotational error measurements cover straightness, coaxiality and spindle direction.
The XK10's display unit is designed like a small tablet computer and enables the user to collect, analyse and record measurement data. It provides step-by-step instructions for each type of measurement, with easy-to-understand graphics and real-time readings guiding the operator through each stage of the measurement process.
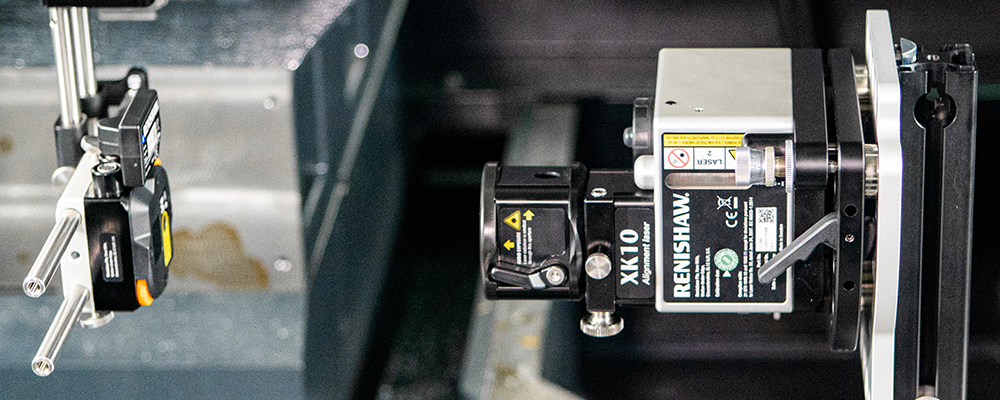
Flexible setup using XK10 fixturing kit
Results
The switch to alignment laser technology has enabled Dawn Machinery to increase its custom machine tool production efficiency and meet growing business demands. At the same time, it has had a marked impact on machine tool inspection accuracy.
Mr Hsu said, “The XK10 system is very portable and easy to set up. Our operators only need to follow the display unit instructions to complete a measurement process. We've used the system for a good period and the performance is highly consistent. Overall, I estimate that our machine tool inspection efficiency has been improved by at least 50%.”
The long-standing challenge of measuring errors in larger machine tools has also been addressed by the XK10 alignment laser, as Mr Hsu explains:
“With a measuring range of up to 30 m, the XK10 has also single-handedly solved our problem of inspecting long-travel machine tools. We no longer have to worry about finding suitably sized squares, which makes us more confident in producing even longer-travel machines in the future and helps us greatly reduce labour costs.”
Mr Hsu also recognised the important role played by fixturing and reporting in helping his company improve efficiency and accuracy:
“Since most of our orders are for custom-made machine tools, there can be great divergence in the mechanical structure of each model to be inspected. The XK10 fixturing kit really helps out in this regard, providing us with a flexible set of pre-made jigs that solves any kind of installation problem.”
“Furthermore, the display unit software is really user-friendly. Data acquisition is simple, and reports generated are easy to read and understand. We can recognise potential workpiece errors earlier and feel even more confident in our machines.”
Dawn Machinery is now considering purchasing its own Renishaw XL-80 laser interferometer system and XR20-W rotary axis calibrator to test their 5-axis machining centres.
